Water Ballast for Dinah
Saturday, March 1st, 2008
Two or three other JOD 35s have done this before. The plan is to add water ballast tanks to stabilise the boat when single-hand sailing, without a bunch of bodies hiking out to windward.
Designer Daniel Andrieu provided a JOD35wb stability study as shown in this wire-frame sketch:

JOD35 wireframe
Below is a rough sketch of the size and placement of the water ballast tanks:

ballast tank sketch (click to enlarge)
In the sketch, the red box is a 12 volt centrifugal pump, the green lines are pipes to port and starboard tanks, the yellow line is a three inch crossover feed to enable dumping the 290 litres of water from one side to the other when tacking.
This is a very very simplified view, the actual plumbing will be a bit more complicated.
Other JOD35 owners have installed tanks such as these, port and starboard:

port side

starboard side
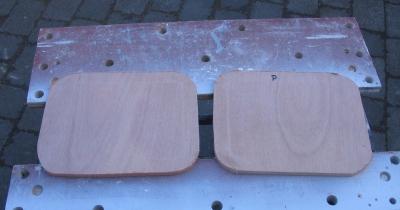
They elected to build their tank panels using glass fibre. We have decided to use marine grade plywood and have chosen to install two baffles on each side, rather than just one. We reckon the plywood panels will add extra stiffness to the boat and we reckon two baffles are better than one to keep the tank water from sloshing around too much.
Two or three other JOD 35s have done this before. The plan is to add water ballast tanks to stabilise the boat when single-hand sailing, without a bunch of bodies hiking out to windward.
Designer Daniel Andrieu provided a JOD35wb stability study as shown in this wire-frame sketch:
JOD35 wireframe
Below is a rough sketch of the size and placement of the water ballast tanks:
ballast tank sketch (click to enlarge)
In the sketch, the red box is a 12 volt centrifugal pump, the green lines are pipes to port and starboard tanks, the yellow line is a three inch crossover feed to enable dumping the 290 litres of water from one side to the other when tacking.
This is a very very simplified view, the actual plumbing will be a bit more complicated.
Other JOD35 owners have installed tanks such as these, port and starboard:
port side
starboard side
They elected to build their tank panels using glass fibre. We have decided to use marine grade plywood and have chosen to install two baffles on each side, rather than just one. We reckon the plywood panels will add extra stiffness to the boat and we reckon two baffles are better than one to keep the tank water from sloshing around too much.